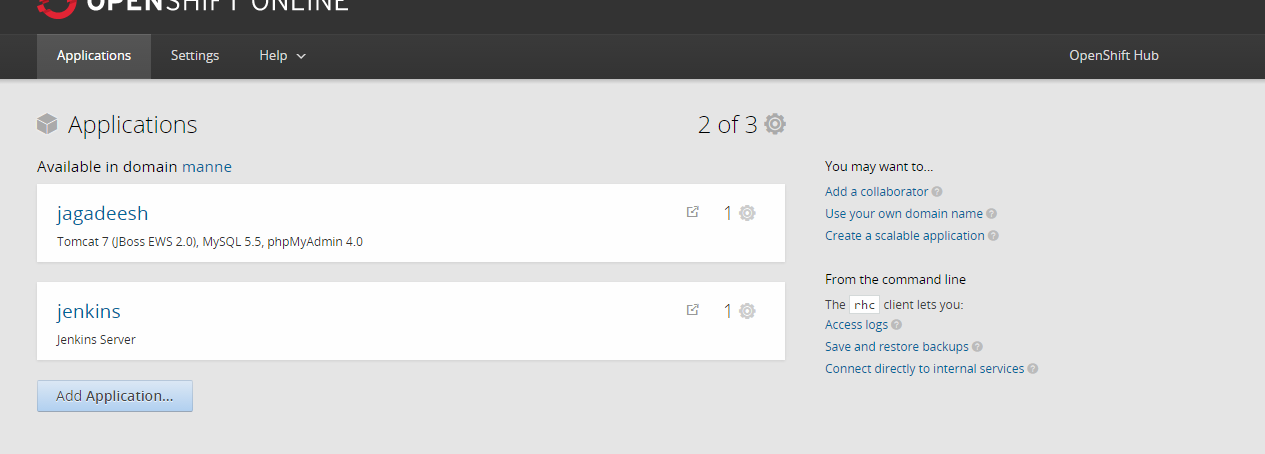
Hosting a grails application on free hosting provider (openshift) 1. Create account in https://www.openshift.com/ 2. Login to openshift web console 3. click on add application
4. Select Tomcat 7 (JBoss EWS 2.0) from the list of applications
5. Enter public url and select other configuration and create application. Leave blank in git hub url.
6. Go to applications page -> go to the application that you have created -> add mysql to the application.
7. Click on add Cartridge
8. Now add phpmyadmin catridge to the application by selecting clicking on phpmyadmin
9. Database Setup : Go to the application details page and find database username and password in mysql section
10. Launch phpmyadmin by using the mysql usernamd and password provided in the application details page to add or modify database and mysql users.
11. Note the server ip address to configure our grails application with mysql database
12. Login to SSH by reading instructions on https://developers.openshift.com/managing-your-applications/remote-connection.html
Make sure to add your public key in openshift account settings. 13. Generate war file for grails application using war command.
14. Download https://winscp.net/eng/download.php and connect to ssh to upload war file. 13. Upload war file to the path app-root/runtime/dependencies/jbossews/webapps using WinSCP 14. Now we need to restart the tomcat server from ssh. After connecting to ssh run the command "gear start --cart jbossews-2.0"
15. Now the grails application will be running on openshift server that any one can access
Categories:
Groovy & Grails
,
Hosting


